My session started with a dying light. Four years ago when I bought my lamp, I also bought a spare bulb "just in case it blows and causes the end of a work session". It took some time, but turned out to be a wise move :)
The process of fixing the arch was not simple. Drilled on the arch two holes on the front-facing side and one on the rear facing side. Positioned the arch and marked the car where to drill to match the holes on the arch. Took extra care to centre the wheel correctly. Marked, drilled, bolted slightly in place, marked the inner of the arch where other holes should go, took the arch out, drilled it, masked the car, bolted the arch back, marked the masking tape, took the arch out, drilled the car, bolted it all back in... Through this process, had to do a couple of extra holes: one because behind the rear end there was a rail and I would not be able to fit the bolt. The other because of a marking error, hole should be 3mm to the side...

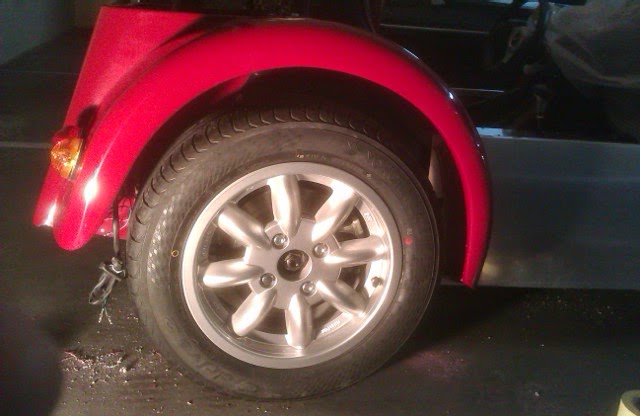
Then the hard task started... When I was trying to bolt permanently the arch, it would not fit nicely near the top chassis rail. There was a gap between the arch and the side of the car. Had to undo most bolts, file down the arch a bit to make it sit better and tried bolting all back in. The self-tapping bolt that holds that seems to be too short for the gap and the "stress" the part is in... I will either have to get a longer bolt, undo it all and file a bit more or just forget about it.
Lots of lessons learnt for when I get to do the other side. And yes, the light wires were not crimped nor connected. Next week or so...


No comments:
Post a Comment