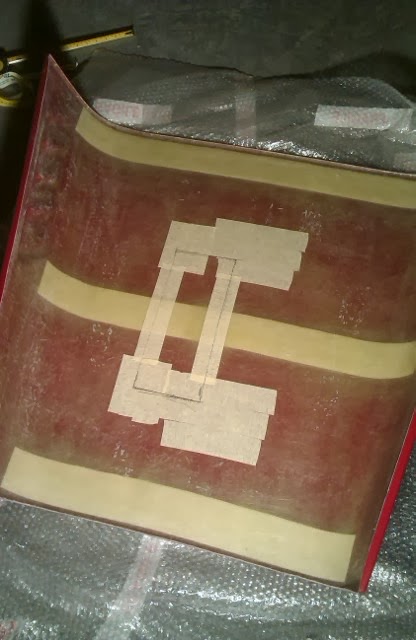
Nice work session. First task was to finish enlarging the hood hole to provide clearance for the airbox to come out. Eventually got done. Some trimming and polish on the hole borders and it was time to move on. The more I look to it, the more I want to try to modify the airbox to have a front-facing hole for the air to enter instead of the two original air entries that now sit under the hood.
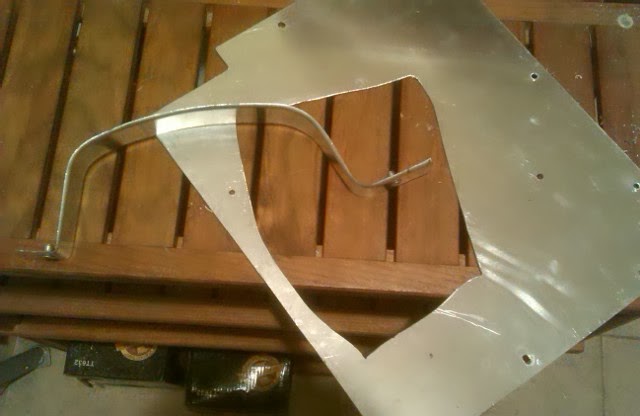
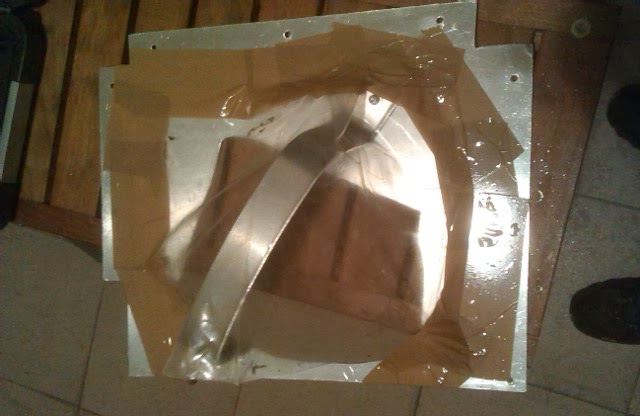
With the hood sitting as final, marked where on the chassis I need to drill to fix the scuttle. Then removed it and started work to close the tunnel. Enlarged the previously marked bit of the tunnel panel. Tried it and it worked fine. Noticed how much of my foot protrudes into the tunnel. My foot there is safe, thanks to the prop catcher I added on that area. So, I just needed something to prevent my foot going too much inside and water coming in from there. Created a guard from a bit of scrap ally and used rivnuts to attach it to the tunnel cover. Tested it not only to check if my foot moved correctly but also if the part slid into place with the guard or it had to be attached afterwards. Since it slid with the guard, applied some plastic on the area to prevent water from getting in and closed the tunnel.
While closing the tunnel I noticed that there is still one wire under the dash that comes from the loom and connects nowhere. And two from the digidash not connected anywhere. I believe these are related to the indicators, but unsure. Something to tackle later.
But next steps are to put in the wires from the loom to near the headlights, for the front wing indicators. Then fix the scuttle into place and attach the hood catchers to the hood and car.
Build diary for my first kit car: an Aries Locoblade (http://www.ariesmotorsport.com/) that I will be building in Portugal for the next months (or years).
Saturday, January 25, 2014
Sunday, January 12, 2014
Hood Continued
Most of today's session was on the hood. But before I trial-fitted the tunel side plate and tested using the peddle with the new hole. It is a lot better, I can accelerate without stepping also on the brakes. The only problem is if I push back the foot too much and then try to move it to the brakes, it seems to get a bit caught. Marked for further cutting.
Then trial fitted the hood. Marked for more cutting and trimming and went through a few iterations of fitting, marking, cutting, fitting. In the end, my time was up and the hood still requires a very small trim on one side. It already fits but not perfectly. Anyway, left the part on the car and first took these pictures. Scuttle is also just placed there, not attached.
Then trial fitted the hood. Marked for more cutting and trimming and went through a few iterations of fitting, marking, cutting, fitting. In the end, my time was up and the hood still requires a very small trim on one side. It already fits but not perfectly. Anyway, left the part on the car and first took these pictures. Scuttle is also just placed there, not attached.
Sunday, January 5, 2014
Hood and Tunnel
First time on the car in a long time... And with a new year's resolution: to get the car on a track this year.
Fit loselly the scuttle and sticked some isolation sponge on the nose and scuttle so that I could put the hood in place. Then, spent some time measuring where I should cut the hood so that the airbox can protrude out. After some time, it was roughly measured for a first cut. I'm sure after this one I'll be doing a lot of trimming to get it right because it is really hard to mark where to cut from underneath.
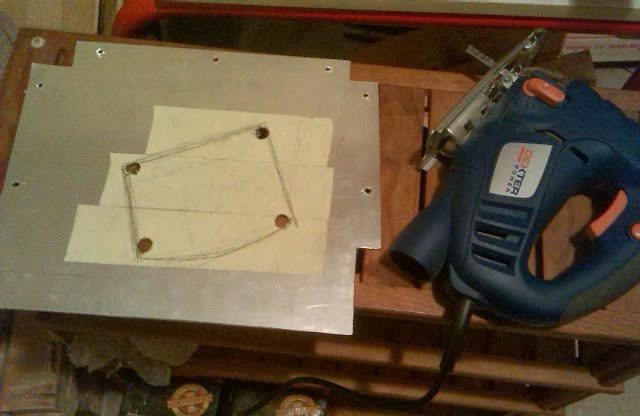
Also measured the tunnel cover bit near the peddles, that I had to remove to be able to drive because my feet are too large. With the measured parts, went to the storage room and did some cutting. The tunnel bit drilled the corners and cut the rest with the saw. The hood was done with the cutting disk on the dremmel.
I did not have time to trial fit and check what more needs cutting, that will have to be done next session.
Subscribe to:
Posts (Atom)


